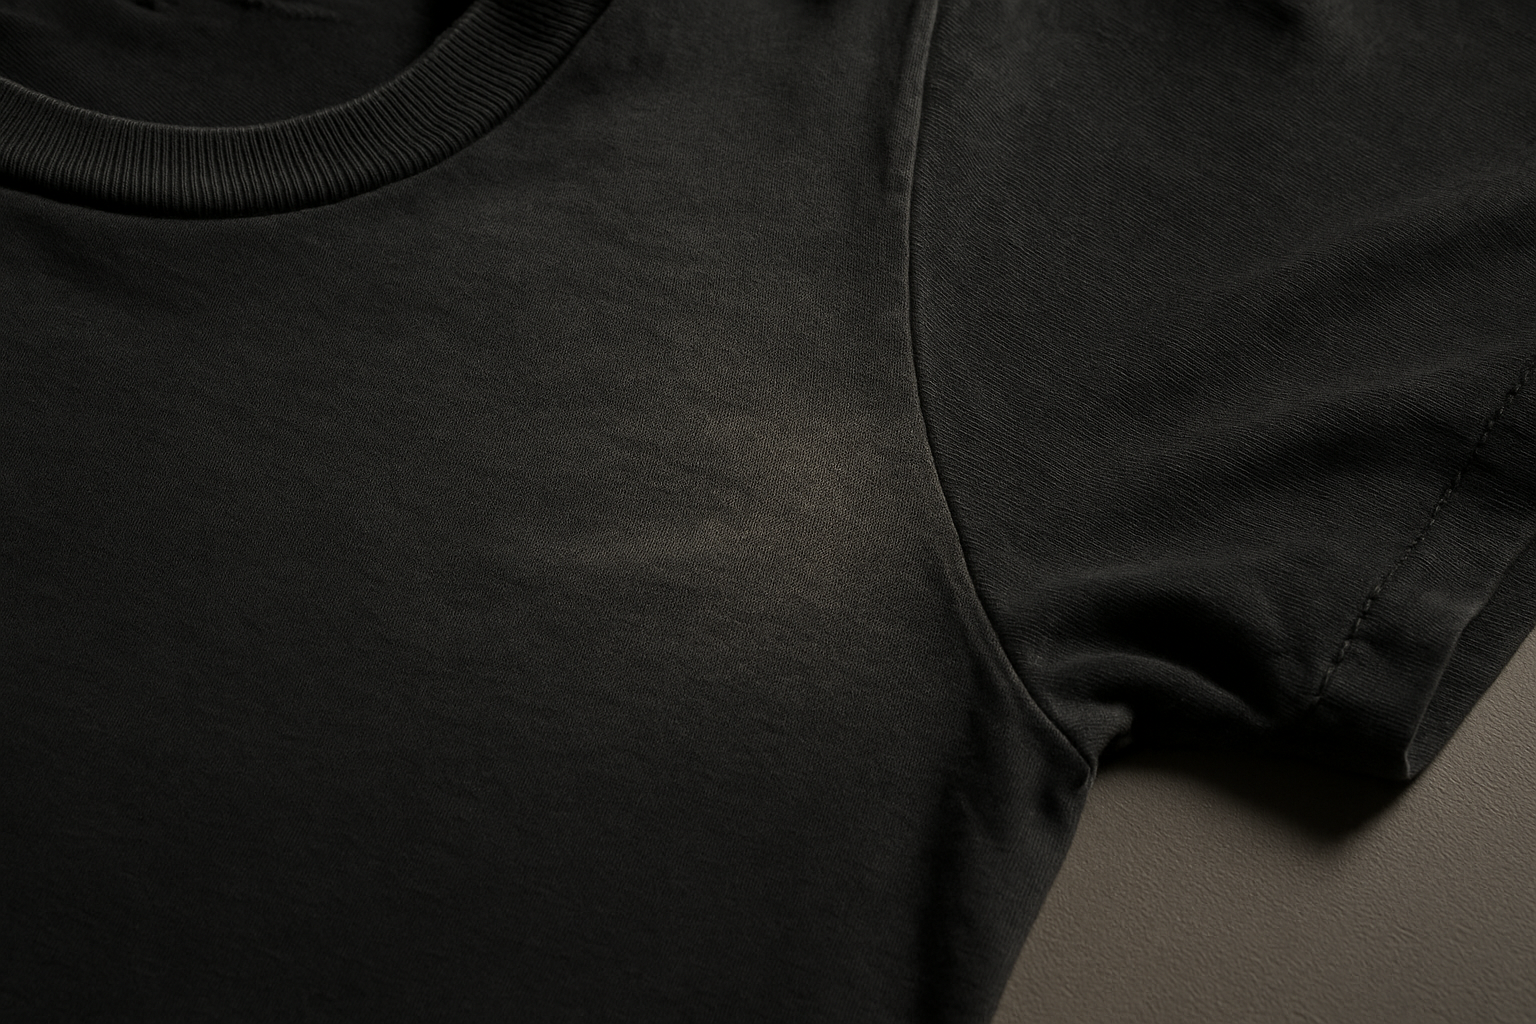
Deodorant stains and armpit discoloration get graded under two different factors depending on what they actually are. Surface residue that wipes or launders off is a pre-listing cleaning task, not a grade issue — it shouldn't touch your number at all. Actual perspiration staining, the yellow-brown discoloration baked into the fibers, is a Cosmetic Appearance defect that typically caps a garment at Good or Fair, and if it's stiffened the fabric or weakened the fibers, it becomes a Fabric Condition problem too. In persistent cases it can also carry an Odor & Cleanliness penalty even after the visible mark is gone, since sweat residue and bacteria are the same underlying cause of both the stain and the smell. Mixing these mechanisms up is the single most common overgrading mistake we see on button-downs, tees, blazers, and increasingly activewear.
Two Defects, One Location — Don't Grade Them the Same
Sellers treat "armpit issue" as one category. It isn't. There are at least two distinct mechanisms happening in the same six square inches of fabric, and they have completely different grade consequences.
Deodorant buildup is topical. It's antiperspirant compound (usually aluminum-based) and fabric fibers trapping white or gray residue on the surface, especially visible on dark cotton and synthetic blends. This sits on top of the fabric. It didn't chemically react with the dye or the fibers. In most cases it comes off with a stiff brush, a dryer sheet rubbed across the fabric, or a quick pretreat-and-wash cycle. If it comes off, it was never a condition defect — it was a housekeeping failure on the seller's part.
Perspiration staining is chemical. Sweat interacts with dyes, deodorant residue, and body oils over repeated wear cycles, and the reaction produces that yellow-to-brown discoloration that sits in the fibers, not on them. This is set. Washing rarely removes it fully, and aggressive treatment (chlorine bleach, high heat, enzyme soaks) risks damaging the fabric further. This is a real, disclosable defect that affects Cosmetic Appearance and, in advanced cases, Fabric Condition.
The taxonomy matters because graders (human or AI) who can't tell these apart either overgrade a garment that has permanent yellowing and get a return, or undergrade a garment that just needs five minutes with a lint brush and leave money on the table.
The Grade Impact Table
Here's how underarm condition maps to GradeThread's tier system, assuming the rest of the garment is otherwise clean and structurally sound.
| Condition observed | Removable? | Grade ceiling | Primary factor affected |
|---|---|---|---|
| Light white/gray deodorant residue, surface only | Yes — brush, wash, or dryer sheet | Excellent or higher (post-cleaning) | None if removed pre-listing |
| Faint yellow tinge, barely visible, no stiffness | Partially | Very Good | Cosmetic Appearance |
| Defined yellow-brown discoloration, visible at arm's length | No | Good | Cosmetic Appearance |
| Dark, spread staining with fabric stiffness or crustiness | No | Fair | Cosmetic Appearance + Fabric Condition |
| Staining with visible fiber degradation, holes, or crumbling at the seam | No | Poor | Fabric Condition + Structural Integrity |
Notice that the top tier on this table isn't NWT or NWOT territory — armpit staining, once it's real, doesn't belong in a "never worn" category. A stain-free underarm is table stakes for those tiers, not a bonus.
How to Grade Deodorant Stains on Clothing
Use this sequence every time you inspect an underarm before assigning a grade. It works the same whether you're grading by hand or reviewing an AI-generated condition report.
- Check the garment under bright, even light — window light or a daylight-balanced lamp, not overhead fluorescents that wash out yellow tones.
- Rub a clean white cloth or your thumb firmly across the underarm panel. If residue transfers, it's surface buildup, not a stain — treat it as a cleaning task, not a defect.
- If nothing transfers, examine the fabric for color change against the surrounding panel. Compare it to an unaffected area of the same garment under the same light.
- Flex and lightly stretch the fabric at the stain site. Note any stiffness, crustiness, or resistance compared to the rest of the garment — this signals fiber-level buildup, not just surface discoloration.
- Check the reverse side of the fabric. Staining that's visible through to the inside lining or the opposite panel indicates deeper saturation and a lower grade than a mark confined to one layer.
- Inspect the seam and underarm gusset specifically for thinning, holes, or a chalky texture — this is where perspiration damage escalates from cosmetic to structural.
- Do a quick smell check at the underarm panel specifically, separate from the rest of the garment. A lingering sour or musty note after washing points to an Odor & Cleanliness deduction even if the visible stain has faded.
- Assign the grade using the table above, then document the finding by location ("left underarm, 1.5-inch discoloration, no stiffness") rather than a vague "some staining."
- Photograph the underarm flat, under raking light if possible, so the buyer sees exactly what you're disclosing.
Step 6 is the one sellers skip most often. A stain that's purely cosmetic and one that's eating through the gusset seam both look yellow from three feet away. Only the flex-and-check-the-back steps tell you which one you're actually holding.
White Residue on Dark Shirts: Grading the Most Common False Alarm
White residue on dark shirts is the single most overgraded-down defect we see, mostly because it's visually alarming against black, navy, or maroon fabric. But it's almost always removable, and removable defects don't belong in a permanent grade.
Here's the test: press a slightly damp microfiber cloth against the mark and rub gently. If the white lifts onto the cloth, you're looking at antiperspirant residue sitting on the fiber surface — treat it exactly like you'd treat dust or lint. Clean it before you shoot photos, and it never enters the condition report. If the mark doesn't budge and instead looks like a lighter or grayer patch woven into the fabric itself, you're dealing with a different problem: color loss from repeated chemical exposure, which behaves more like a bleaching defect and does belong under Cosmetic Appearance.
The mistake resellers make in both directions: some list a shirt as Good because of visible white marks that would've brushed off in thirty seconds, undercutting their own price. Others clean off the surface residue, miss a faint underlying yellow tinge because they're rushing, and list it as Excellent — then get a return three days later when the buyer sees it under different lighting.
Activewear and Moisture-Wicking Fabrics: A Different Failure Mode
Polyester and nylon activewear — leggings, running tees, base layers — fail differently than cotton, and it's worth grading them on their own terms rather than forcing the cotton playbook onto synthetic fibers. Moisture-wicking fabrics don't absorb sweat the way cotton does; they're engineered to push it to the surface. That means less deep-fiber saturation but a specific, well-known defect: a permanent grayish-yellow ghosting at the underarm that shows up almost exclusively on synthetic performance fabric and is caused by a reaction between antiperspirant aluminum salts and the polyester dye structure, not by the sweat itself.
Two things follow from that. First, the removal test above still applies — try the damp-cloth rub first, since a surprising amount of what looks like set-in activewear staining is actually surface buildup trapped in the fabric's texture. Second, when it doesn't lift, don't expect enzyme pretreatments or peroxide pastes to do much; those work on protein and tannin stains in natural fibers, and they're largely ineffective on the aluminum-polyester bond that causes activewear ghosting. If the discoloration is set, grade it as Cosmetic Appearance under the same table above, but don't waste a treatment cycle chasing a stain type that responds to a different chemistry than the fabric you're holding.
When Perspiration Damage Crosses Into Structural Territory
Most armpit staining is a Cosmetic Appearance issue and stops there. But sweat is acidic and breaks down natural fibers over time, especially cotton, linen, and silk. When staining has been present for years — think vintage band tees, decades-old dress shirts, or heavily worn workwear — check for two escalation signs:
- Fiber weakening: the stained area feels thinner or more translucent when held up to light compared to the rest of the garment. This is Fabric Condition damage, not just a cosmetic mark.
- Seam compromise: the underarm gusset or side seam shows fraying, holes, or stress cracking specifically at the stain site. This moves the defect into Structural Integrity, and it usually means the garment can't be graded above Fair regardless of how the rest of the piece looks.
This is the same logic we apply to seam stress and fabric integrity elsewhere in the taxonomy: a defect that stays on the surface caps a grade one way, but a defect that's degraded the material itself caps it lower and can't be photographed or disclosed away. If you're seeing crumbling or crusting at the underarm, don't just note the color — check whether the fabric can still do its job.
Underarm Staining Removal Before Resale: What to Try, What to Disclose
Before you grade anything, run the removal attempt. Here's what actually works, roughly in order of aggressiveness:
- Brush or wipe for surface residue — no chemicals needed.
- Pretreat with an enzyme-based stain remover and let it sit 15–30 minutes before washing (natural fibers only — enzymes have limited effect on synthetic-and-aluminum ghosting).
- For white or light fabrics only, a hydrogen peroxide and baking soda paste can lift moderate yellowing — test on an inseam first.
- For set-in stains on colorfast fabrics, a diluted white vinegar soak sometimes softens discoloration without stripping dye.
- Avoid chlorine bleach on anything except pure white cotton with no elastane — it accelerates fiber breakdown and can leave the fabric more brittle than the stain did.
If the stain reduces but doesn't fully disappear, grade what's left — not what used to be there. If it's gone, move on and don't mention it. If you attempted removal and the fabric came out noticeably weaker or discolored differently, disclose that too; a failed treatment is itself a condition detail buyers deserve to know.
Grade It Once, Correctly
Armpit staining is one of the easiest defects to call wrong in either direction — oversold as unsellable when it's a five-minute fix, or waved off as normal wear when it's actually eating through the seam. Run one garment with visible underarm marks through GradeThread and see how the report separates surface residue from true perspiration damage, factor by factor, before you write the listing.