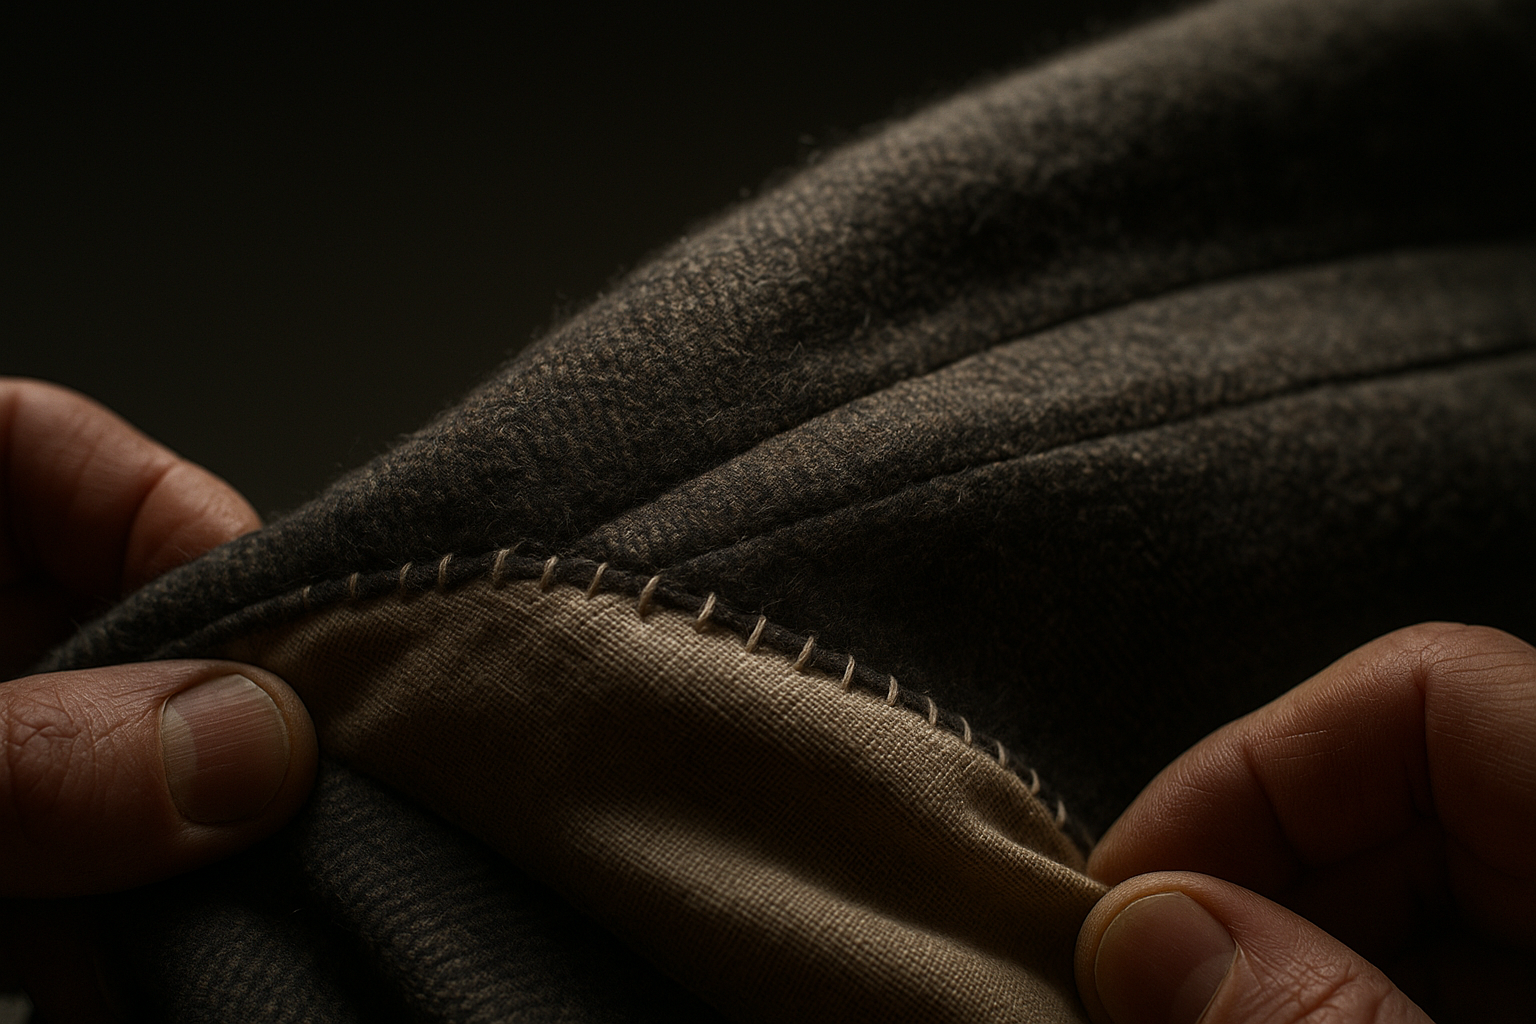
Vintage Suit Jacket Shoulder Seam Slippage: Detecting Hidden Structural Failure Before You List
Seam slippage is fabric fibers shifting and gapping along the stitching line under stress — the thread stays intact, but the fabric pulls away from it, leaving a toothy, striped gap right at the seam. It's a Structural Integrity defect, not a cosmetic one, and it fails a raking-light pull test long before it's visible to the naked eye. Catch it before you list, because it almost always worsens in transit.
What Seam Slippage Actually Is (and Isn't)
We've graded enough 1970s and '80s suit jackets to know shoulder seams fail in more than one way, and sellers routinely lump them together as "seam wear." They're not the same defect, and they don't grade the same.
Seam slippage happens when the fabric's weave is too loose, too worn, or too tightly stitched to hold the yarns in place under tension. The thread itself doesn't break. Instead, the fabric slides along the stitch line, and you get visible gaps between individual threads of the weave — like a zipper of tiny holes running parallel to the seam. It's most common on the shoulder seam and armhole because that's where a suit jacket carries the most mechanical stress: arm movement, hanger weight, and the pull of shoulder pads or canvassing underneath.
Seam pucker is a different animal entirely — it's a tension or shrinkage issue where the fabric bunches along the stitch line instead of lying flat. Seam separation is thread failure: the stitching itself has broken or unraveled, and the two fabric panels are coming apart. All three can show up in the same general area of a jacket, and all three get called "seam damage" by sellers who haven't looked closely. Only one of them — slippage — is often invisible until you put the seam under load.
The Three-Point Detection Test
This is the procedure we use on every vintage tailored jacket before it gets a Structural Integrity score. It takes under two minutes per shoulder and it's the single best predictor of a return caused by "the seam came apart during wear."
- Turn the jacket inside out and lay the shoulder seam flat under strong, raking side light — a desk lamp angled low across the fabric works better than overhead light, because gaps in the weave cast shadows overhead light won't catch.
- Grip the fabric on either side of the shoulder seam, about an inch out from the stitch line, and pull gently but firmly in opposite directions, perpendicular to the seam.
- Watch the stitch line itself. If you see individual threads of the weave separating into a toothy, comb-like gap while the stitching stays fully intact, that's seam slippage.
- Release the tension and check whether the gap closes back up or stays visibly open. A gap that doesn't fully recover is a sign the weave has already lost integrity, not just stretched temporarily.
- Repeat the same pull test at the armhole seam and at any point where the shoulder pad or canvassing is stitched to the shell fabric — these carry the same stress and fail on the same timeline.
- Run a fingernail lightly along the seam from the outside. If you feel a ridge of loose threads rather than a smooth seam allowance, log it as slippage even if it wasn't visible under light.
- Photograph any confirmed slippage with the fabric held under light tension, not relaxed — a relaxed shot under-represents the defect and will get flagged as not-as-described if a buyer does the same pull test at home.
Seam Slippage vs. Seam Pucker vs. Seam Separation
These three get confused constantly because they show up in the same location and read as "something's wrong with the seam" at a glance. They fail differently, they photograph differently, and they grade differently.
| Defect | What's Failing | Visual Signature | Detection Method | Typical Structural Integrity Impact |
|---|---|---|---|---|
| Seam Slippage | Fabric weave shifting away from intact thread | Toothy, comb-like gaps parallel to stitch line | Perpendicular pull test under raking light | Moderate to severe — depends on gap size and recovery |
| Seam Pucker | Stitch tension or differential shrinkage | Fabric bunching or rippling along the seam | Visual inspection, lay flat and smooth by hand | Usually minor — Cosmetic Appearance, not structural, unless fabric is distorted |
| Seam Separation | Thread breakage or unraveling | Visible open gap between fabric panels, loose thread ends | Visual inspection, no pull test needed | Severe — active failure, often caps grade at Fair or Poor |
Grading Seam Slippage Under Structural Integrity
Seam slippage lives entirely under the Structural Integrity factor in our five-factor standard, alongside things like seam allowance strength and lining attachment. It doesn't touch Fabric Condition unless the surrounding weave is also thinning, and it doesn't touch Cosmetic Appearance unless there's visible distortion on the outside of the garment.
- Excellent (Grade 8): No detectable slippage under the pull test at either shoulder seam or armhole. Weave is tight and fully recovers from tension.
- Very Good (Grade 7): Slight fiber movement detectable only under direct pull, fully recovers, invisible under normal wear and in photos.
- Good (Grade 6): Visible gapping under raking light without pulling, but the gap is stable and doesn't progress when handled normally. This is the threshold where disclosure is mandatory.
- Fair (Grade 5): Slippage is visible at rest, doesn't fully close, and is progressing — you can see it's worse than it would have been a year ago based on the surrounding fabric wear.
- Poor (Grade 3–4): Slippage has progressed to the point of near-separation, or repeated pulling reopens a gap that was previously repaired.
A jacket can score Excellent everywhere else — clean lining, sharp lapels, no odor — and still get capped at Good or Fair because of one shoulder seam that fails the pull test. That's the whole point of scoring five factors independently instead of eyeballing an overall impression.
Why Shoulder Seams Fail First on Vintage Suit Jackets
Shoulder seams take more sustained load than almost any other seam on a tailored jacket. Every time the jacket hangs — on a rack, in a closet, on a hanger for decades — the weight of the shoulder pad, canvassing, and sleeve pulls directly on that stitch line. Natural-shoulder construction common in 1960s and '70s suits used lighter interlining, which means less reinforcement behind the seam and more direct stress on the shell fabric's weave. Add decades of dry-cleaning heat, which relaxes fiber cohesion in wool and wool blends, and you get exactly the conditions that produce slippage rather than a clean break.
This is also why slippage clusters at the shoulder and armhole specifically rather than showing up randomly across a jacket. Side seams and center-back seams see far less mechanical load and almost never show this defect on the same garment where the shoulder is compromised. If you find slippage at one shoulder, check the other — asymmetric wear from one-sided hanger storage is common, and you may be grading two different severities on the same garment.
Disclosure and Listing Language
Don't write "minor wear at shoulder seam" when what you mean is seam slippage — buyers who know tailoring will read that as vague and assume you're hiding something worse. Name the defect specifically: "slight fiber slippage at right shoulder seam, stable, does not affect wearability" tells a buyer exactly what they're getting and why the grade landed where it did. That specificity is also what a verifiable condition report is for — it puts the same defect language in front of the buyer that you used to grade it, so there's no gap between your listing and their unboxing.
If the slippage has already progressed to a stable gap under Good or Fair, say so in the title's condition field and in the description, and photograph it under tension the way we described above. A buyer who sees the defect disclosed and photographed accurately is far less likely to open a not-as-described case than one who discovers it themselves during the first wear.
Run your next vintage suit jacket through GradeThread before you list it. Upload the shoulder seam photos alongside your standard shots, and the report will score Structural Integrity independently from the jacket's overall condition — so you know exactly where the grade is coming from, and so does your buyer.