Cost per listing is your total time spent cataloging, measuring, photographing, writing, and publishing one item, converted to dollars at your effective hourly rate, plus per-item materials and amortized tool costs. A reseller doing everything manually, one item at a time, can land well above $5.00 per listing once labor is counted honestly. A reseller running a batched, templated workflow can push that below $1.50. The $2 and $0.20 figures you hear in reseller circles usually reflect a lower or blended labor rate, or cash costs only. Same platform fees. Same eBay account. The overhead gap is large before the item ever sells.
Most resellers track cost of goods sold. Almost none track cost per listing. That's a mistake, because it tells you whether a $12 thrifted blouse is worth listing, whether your time is better spent sourcing or photographing, and where your real hourly rate is hiding.
How to calculate cost per listing as a clothing reseller
The formula is simple. The inputs are where people undercount.
Cost per listing = (minutes spent ÷ 60 × your effective hourly rate) + per-item materials + (monthly tool subscriptions ÷ items listed that month)
Break the labor component into the steps every listing requires:
| Step | Manual workflow (avg. minutes) | Batched/optimized workflow (avg. minutes) |
|---|---|---|
| Intake & measure | 2.5 | 1.0 |
| Photograph (setup, shots, retakes) | 5.0 | 1.5 |
| Select & edit photos | 3.0 | 0.5 |
| Condition assessment & write-up | 3.0 | 0.5 |
| Title, item specifics, description | 3.5 | 0.8 |
| Publish & crosslist | 3.0 | 0.7 |
| Total | 20 min | 5 min |
These figures are illustrative examples, not a universal benchmark. Your numbers will move with garment complexity, photo count, and how many platforms you crosslist to. But the ratio holds across most solo operations: batching cuts per-item minutes by 60–75%.
[Screenshot placeholder: a simple time-tracking sheet with one row per item and one column per listing step]
Listing cost breakdown: $2 vs $0.20 side by side
Here's how those minutes translate to dollars at a $15/hour effective labor rate, plus realistic materials and tool costs. Again, these are example figures.
| Line item | Manual workflow | Optimized workflow |
|---|---|---|
| Labor (20 min vs 5 min @ $15/hr) | $5.00 | $1.25 |
| Poly mailer, tags, tissue | $0.35 | $0.10 (bulk-bought) |
| Photo editing / listing software, amortized | $0.15 | $0.05 (spread across higher volume) |
| Total cost per listing | ~$5.50 | ~$1.40 |
Labor dominates both columns. Materials and tools rarely move the needle; the minutes do. So where do $2 and $0.20 come from? Cash-only accounting (materials plus tools, no labor) gives you the low end. A reseller who values their time at $6 to $8 an hour and batches hard lands near $2. Cutting listing time to 1 to 2 minutes per item with assembly-line batches of 20 to 50 gets you toward $0.20 to $0.40 at a low blended rate. Pick one definition, apply it consistently, and compare against yourself, not against someone else's number.
Photography time cost per item: where the minutes go
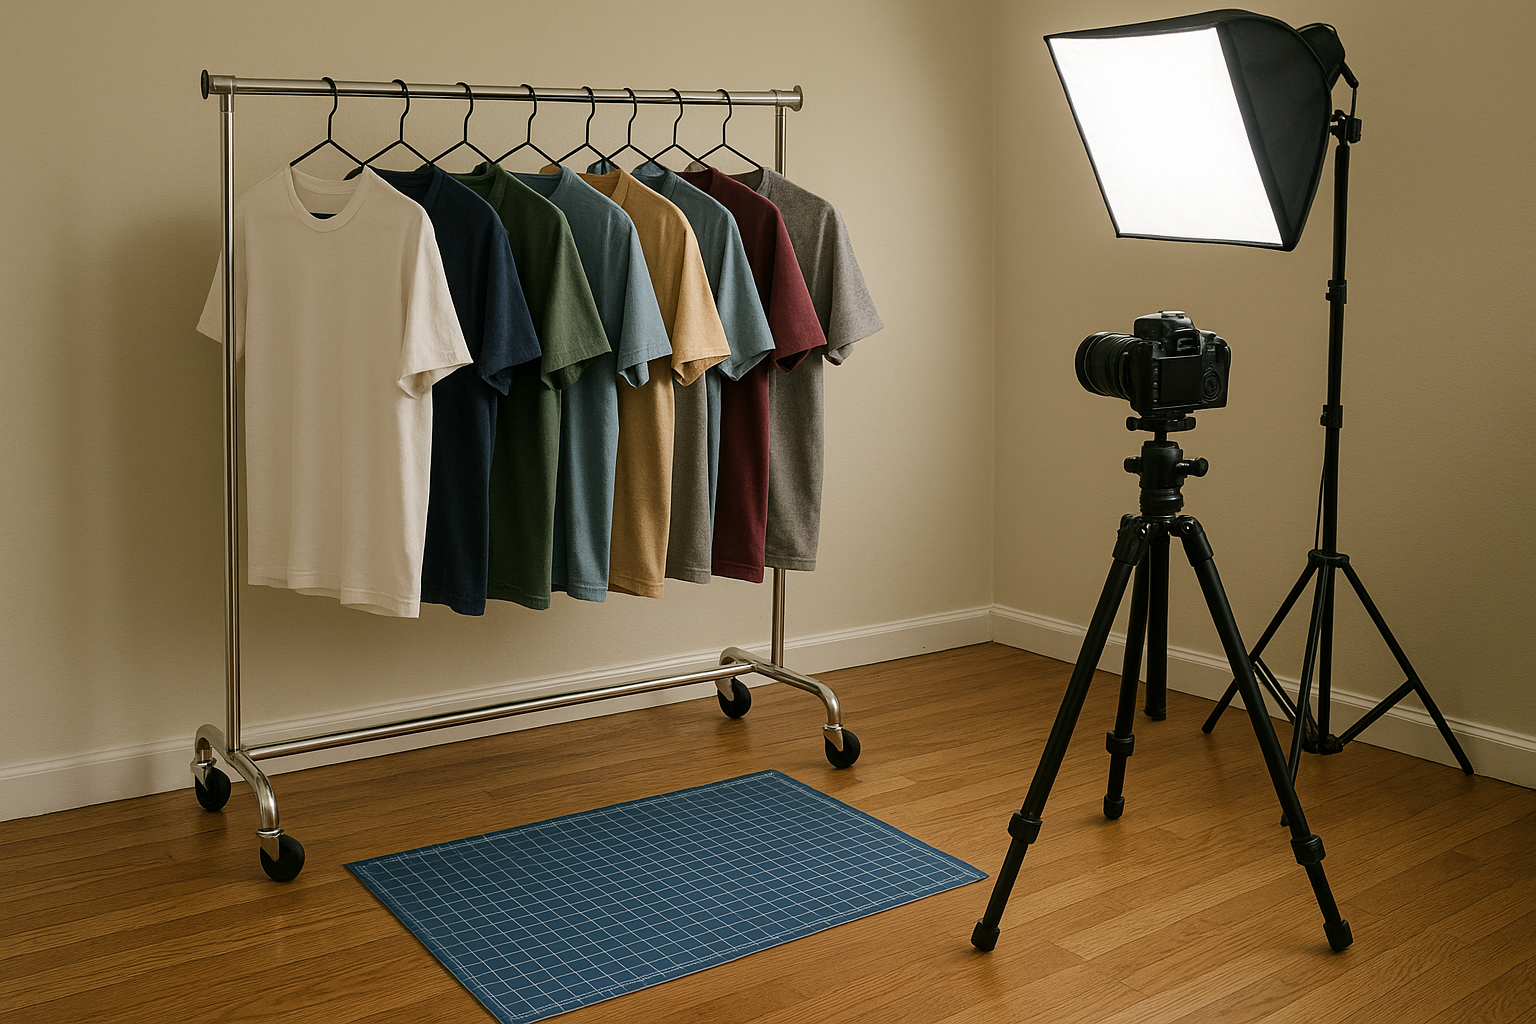
Photography is the single biggest lever. A reseller shooting one item at a time (set up the rack, hang the item, shoot, take it down, repeat) burns 5+ minutes per garment on setup and re-setup alone. A reseller who pre-hangs 20 items on a rolling rack, shoots all 20 in one continuous session under fixed lighting, and only breaks for defect close-ups drops that to 60–90 seconds of marginal time per item. The camera and lighting don't change. The sequencing does.
At $15/hour, every minute shaved off photography saves $0.25 per item. Across 400 listings a month, cutting 3.5 minutes per item is about 23 hours back, or roughly $350 of labor.
Condition write-up is the second biggest lever, and the one most resellers don't optimize. If you decide case by case whether a sweater is "like new" or "gently used" or "good condition but shows wear," you reinvent your vocabulary every time. That costs time and produces inconsistent listings. Standardize against a fixed set of tiers (NWT, NWOT, Excellent, Very Good, Good, Fair, Poor) and check the same five factors every time: Fabric Condition, Structural Integrity, Cosmetic Appearance, Functional Elements, Odor & Cleanliness. A 3-minute judgment call becomes a 30-second checklist. It also produces more consistent grades, which is a separate line item: fewer "not as described" disputes downstream.
How to calculate your own cost per listing, step by step
- Time yourself listing 10 items start to finish, from intake to publish, without changing your normal habits. Log minutes per step.
- Average the minutes per step across the 10 items to get your baseline per-listing time.
- Calculate your effective hourly rate: divide your target monthly take-home pay by the hours you actually want to work. If you want $3,000/month working 100 hours, your target rate is $30/hour.
- Convert your average listing time to dollars: (minutes ÷ 60) × your hourly rate.
- Add per-item materials: poly mailer, tags, tissue paper, packaging inserts. Take this from your last bulk purchase receipt divided by unit count.
- Add amortized tool costs: divide your monthly software and subscription spend by the number of items you listed that month.
- Sum the three components. That's your real cost per listing: not your platform fee, not your shipping cost, but a separate number that sits upstream of both.
Efficient listing workflow cost analysis: what moves the number
Once you know your baseline, the fixes are mechanical, not motivational. In order of typical impact:
- Batch photography in sessions of 15–30 items. Fixed lighting, fixed backdrop, one continuous shoot. This alone typically cuts photography time by half or more.
- Template your descriptions. Build a category-specific template (denim, knitwear, outerwear) with condition language and measurement fields already in place, so you're filling blanks, not writing prose from scratch.
- Standardize your condition assessment. Use the same five-factor check every time (Fabric Condition, Structural Integrity, Cosmetic Appearance, Functional Elements, Odor & Cleanliness) and assign the same tier language instead of freehanding adjectives per item.
- Pre-measure with a fixture. A marked measuring board or grid mat cuts measurement time roughly in half versus a loose tape measure and mental math.
- Fill item specifics from a saved template. eBay item specifics (size, brand, department, color, material) drive search visibility, and re-typing them is pure waste when a category template can prefill them.
- Crosslist through one tool instead of retyping on each platform. Re-entering the same listing on eBay, Poshmark, and Mercari triples your publish time for no added sourcing value.
- Buy packaging materials in bulk. Poly mailers and tags bought in bulk instead of small retail packs can cut per-item materials cost by 40–60%.
- Recalculate quarterly. Your cost per listing should trend down as volume grows and tools amortize further. Check it every quarter, not once.
Why this number belongs in your P&L
Cost per listing sets your real price floor. If your all-in cost per listing is $1.40 and your average sourcing cost is $8, you need at least $9.40 back before you've broken even on time and materials, and that's before eBay's final value fee (check your category's current rate; clothing is commonly around 13%) and before shipping. Resellers who only track sourcing cost and platform fees consistently underprice slow-moving or low-margin categories, because the labor and materials never show up as a line item until they've been spent.
It also tells you where to spend your next hour. If sourcing nets you $15/hour in margin and listing at your current pace nets only $9/hour after cost per listing, fix the listing workflow before you add another thrift stop to your route.
Grading consistency feeds this too. A garment that gets an accurate, standardized condition report the first time doesn't come back as a return three weeks later, so you never re-photograph it, re-list it, and eat the cost per listing twice.
Run this on your own numbers this week: time ten listings, plug them into the formula, and see where your cost per listing lands. If photography or condition write-up is the bottleneck, that's the workflow FlipDesk's AutoLister is built to compress: batch photo capture, templated descriptions, and standardized condition grading in one pass instead of five. Try it on one batch of items and compare the minutes.