Lighting and Angle Strategy: How to Photograph Clothing Defects for Grading (Without Killing the Sale)
Photograph defects in consistent, diffused natural light from multiple angles — close enough to fill the frame — and your return rate drops. Buyers who see exactly what they're getting rarely file "not as described" disputes. Buyers who don't, do.
The fear most resellers carry is that showing a flaw will scare off a buyer. In practice, the opposite is true. A sharp close-up of a 2 cm scuff on a leather sleeve, captioned with the grade it earned, tells a buyer: this seller knows what they're looking at. That trust is worth more than the illusion of a perfect garment.
This guide covers the exact lighting setups, camera distances, and angle sequences to photograph defects for accurate condition grading — across all five grading factors: Fabric Condition, Structural Integrity, Cosmetic Appearance, Functional Elements, and Odor & Cleanliness.
Why Defect Photography Is a Grading Tool, Not Just a Listing Tool
When GradeThread grades a garment, the condition report maps to five weighted factors. Your photos need to document all five — not just the pretty ones. A listing with twelve hero shots and zero defect shots isn't transparent grading; it's marketing. And eBay's Money Back Guarantee, Poshmark's three-day return window, and Mercari's buyer protection all exist to catch the gap between what photos showed and what arrived.
Standardized defect photography does two things simultaneously: it anchors the grade visually (a buyer can see why a jacket earned Very Good rather than Excellent), and it closes the dispute before it opens. If a buyer can zoom into a photo and see the exact collar wear you disclosed, they have no grounds for a "not as described" claim.
The goal is not to make defects look worse than they are. It is to make them look exactly as they are — consistently, every time.
The Right Light: Diffused and Directional Are Different Tools
Light is the single biggest variable in defect visibility. Get it wrong and you either wash out a stain or create a shadow that looks like structural damage. Two setups cover most situations:
Diffused natural light (your default)
Shoot within 2–3 feet of a north-facing window on an overcast day or in open shade. This light is soft, even, and color-accurate. It is ideal for Fabric Condition shots — pilling, fading, surface texture — because it doesn't create hot spots that hide or exaggerate bobbling. Avoid direct sunlight: it blows out white fabrics and makes mid-tones look cleaner than they are.
Raking (directional) light for texture and structure
Angle a single light source — a lamp, a ring light on low, or a window with a reflector on the opposite side — so it skims across the fabric surface at roughly 15–30 degrees. This raking light catches surface irregularities that flat light misses: seam puckering, fabric thinning, pilling shadows, and crease lines. Use it specifically for Structural Integrity and Cosmetic Appearance shots. It is not flattering, which is exactly the point.
A common mistake: using a ring light dead-on for every shot. Ring light is fine for overview shots but it flattens texture and can make a pilled cashmere sweater look smooth. Reserve it for color-accurate overview shots, then switch to raking for defect close-ups.
Distance and Framing: How Close Is Close Enough
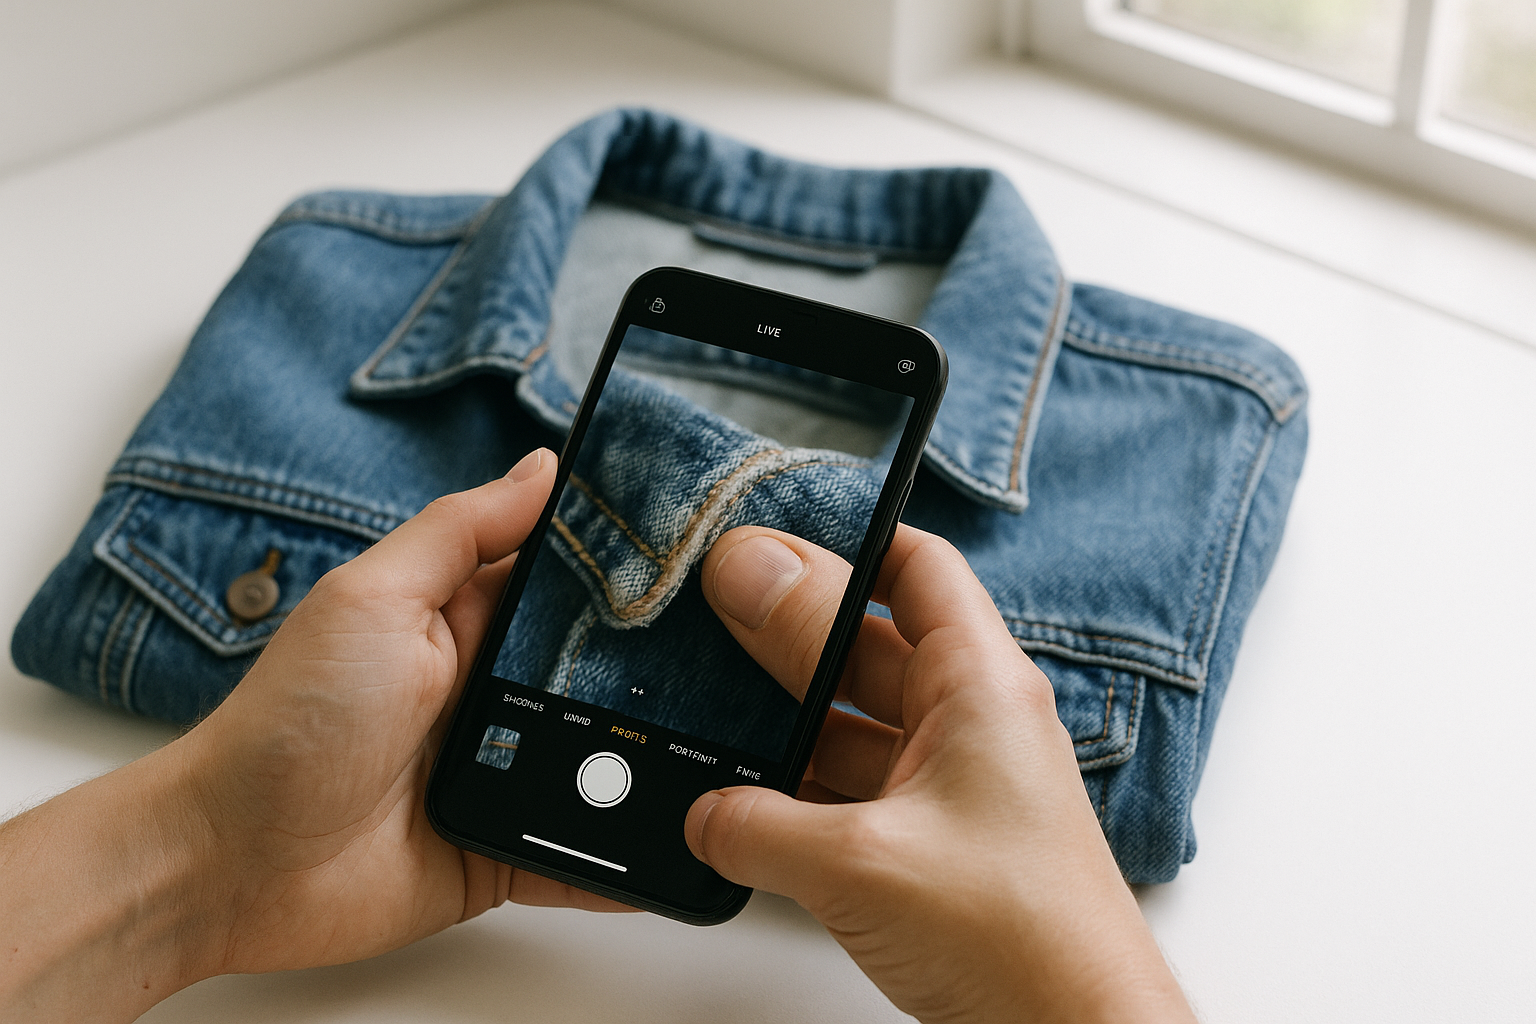
A defect photo that shows a stain as a small dot in the corner of a full-garment shot is not a defect photo. The defect should fill at least 40–50% of the frame. On a smartphone, that means getting within 10–15 cm and using the 2× optical zoom rather than pinching to digital zoom, which degrades sharpness.
Frame defects with enough surrounding fabric to give context. If a collar is fraying, show 5–8 cm of the collar on either side of the wear point so the buyer can see the scale. If a hem has a pull, include the hem line across the full width of the shot so the extent is clear.
For small defects — a 5 mm ink mark, a single moth hole, a hairline crack in a print — use your phone's portrait mode or a clip-on macro lens. Blur the background slightly if it helps isolate the defect, but keep the defect itself in sharp focus. If the camera can't hold focus at that distance, back up 5 cm and crop in post rather than shoot blurry.
The Angle Sequence: A Repeatable Shot List by Grading Factor
Run this sequence on every garment. It takes 8–12 minutes once you've done it a dozen times, and it produces a complete photographic record that maps directly to a GradeThread condition report.
- Full front, diffused light, garment flat or on a form. This is your overview shot. Hang or lay the garment so it's wrinkle-free. Shoot straight on, not at an angle. This establishes color and silhouette.
- Full back, same setup. Buyers check backs. Seat wear on trousers, back-of-collar fading on jackets, and center-back seam stress all live here.
- Label shot, flat on a light surface. Photograph the care label and brand label together if possible. Use diffused light and shoot straight down. This anchors Fabric Condition (fiber content) and supports authentication.
- High-wear zone overview, raking light. For tops: collar, cuffs, underarms. For bottoms: inner thighs, waistband, hem. Shoot from 30–40 cm with light raking across the surface. This is where Fabric Condition and Structural Integrity defects concentrate.
- Defect close-up #1 — primary defect, fill the frame. Whatever earned the grade it earned: the stain, the crack, the seam separation, the pilling patch. Raking light if it's textural, diffused if it's a colorimetric defect (stain, fading). Include a coin or ruler in frame if scale is ambiguous.
- Defect close-up #2 — secondary defect, same protocol. If there are more than two notable defects, photograph each separately. Do not combine two defects in one shot and hope the buyer finds both.
- Functional Elements shot. Zip the zipper, button the buttons, snap the snaps. Photograph the closure in its closed state. If a zipper pull is missing or a button is cracked, shoot that specifically.
- Odor & Cleanliness documentation. You can't photograph smell, but you can photograph cleanliness indicators: visible residue at the collar lining, yellowing at underarm panels, tideline marks at the hem. Shoot these under diffused light, close enough to see the discoloration clearly.
Comparison Table: Lighting by Grading Factor
| Grading Factor | Recommended Light | Distance from Garment | Common Mistake |
|---|---|---|---|
| Fabric Condition (pilling, fading, thinning) | Raking light at 15–30° | 10–20 cm for close-up | Flat ring light hides surface texture |
| Structural Integrity (seams, hems, lining) | Raking light; backlight for thin fabric | 15–25 cm | Shooting closed seams — open them gently to show stress |
| Cosmetic Appearance (stains, marks, color shift) | Diffused natural light | 10–20 cm | Overhead artificial light shifts color; stains read wrong |
| Functional Elements (zips, buttons, snaps) | Diffused natural light, macro if needed | 10–15 cm | Photographing closure open — always show it closed and working |
| Odor & Cleanliness (tidelines, residue, yellowing) | Diffused natural light | 15–20 cm | Skipping this factor entirely — yellowing at collar is a grade modifier |
Color Accuracy: The Detail That Prevents the Most Disputes
A buyer who receives a navy jacket that looks black in your photos has a legitimate grievance — even if the garment is in Excellent condition. Color inaccuracy is one of the most common triggers for Poshmark offer reversals and eBay "item not as described" cases, and it has nothing to do with defects. It's a photography problem.
Set your phone's white balance manually if the option exists, or shoot in the same light source every time so the color profile is consistent. Avoid mixing light sources in a single shot — a window on one side and a warm lamp on the other will give you a garment that looks half-blue, half-orange. That's not a dye lot variation issue; that's a photography issue that looks like one.
After shooting, check the overview photo against the garment in hand under natural light. If the color reads differently, reshoot. A 90-second reshoot costs nothing. A return costs you the sale, the shipping both ways, and the feedback hit.
What Honest Defect Photos Do to Your Grade — and Your Price
Here is the practical outcome of accurate defect photography: it anchors your grade tier in the buyer's mind before they read the description. A garment graded Very Good with clear photos of minor collar wear sells at Very Good money. The same garment with no defect photos gets questioned — buyers assume you're hiding something — and you field low offers or lose the sale entirely.
The condition tiers matter here. The gap between Excellent (grade 8.0) and Very Good (grade 7.0) is visible in photos if you shoot correctly. The gap between Very Good and Good (grade 6.0) is even more visible. Buyers shopping at the Excellent tier are paying for near-perfect condition. If your photos don't confirm that — or if they show defects that belong in Very Good — you will get returns from Excellent buyers and low-ball offers from everyone else.
Honest photography doesn't push a garment down a tier. It confirms the tier it already earned. A Very Good jacket with clear, accurate photos sells faster and for more than an "Excellent" jacket with suspicious, defect-free shots that arrive looking like Very Good.
Three Photography Errors That Generate Returns
- Shooting in artificial warm light. Incandescent and warm LED bulbs make yellowing disappear and make stains read as shadows. Always verify color under natural light before listing.
- Using only full-garment shots. A buyer cannot see a 1 cm ink mark from 90 cm away. If the defect isn't visible at the resolution eBay or Poshmark serves, it doesn't exist as far as the buyer is concerned — until the package arrives.
- Photographing on a busy background. A patterned rug or a wooden floor competes visually with the garment. Use a plain white, grey, or black surface. The garment is the subject; the background is not.
Start With One Garment
Pick one item from your current inventory — ideally something graded Very Good or Good, where defects are real but manageable. Run the eight-shot sequence above. Then grade it with GradeThread and compare the condition report to what your photos actually captured. You'll see immediately which factors your current photo process is missing.
That single exercise is worth more than any abstract advice about transparency. Grade one garment, see the report, and match your photos to it.